Unity3D 수업내용 21.06.28 MLAgent
간만에 돌아온 MLAgent이다. 복습하는 겸 시작해보자.
우선 Python이 3.6~ 3.7버전인지 확인해주자. MLAgent의 Github에서도 해당 버전들을 권장한다.

파이썬 버전과 파이토치 버전을 확인하는 모든 cmd명령어이다.
C:\Users\seong>python -V
Python 3.7.0

C:\Users\seong>where python
C:\Users\seong\AppData\Local\Programs\Python\Python37\python.exe
C:\Users\seong\AppData\Local\Microsoft\WindowsApps\python.exe

C:\Users\seong>python
Python 3.7.0 (v3.7.0:1bf9cc5093, Jun 27 2018, 04:59:51) [MSC v.1914 64 bit (AMD64)] on win32
Type "help", "copyright", "credits" or "license" for more information.
>>> import torch
>>> print(torch.__version__)
1.7.1+cu110
where python은 파이썬의 경로를 보여준다.
만약 파이썬을 여러버전 다운받아뒀으면 쓸 파이썬을 환경변수로 설정해주어야한다.
그리고 github의 mlagent에서 mlagent패키지를 다운받자.
예전에 수업햇을때 이후로 하나의 새로운 버전이 나왔으므로 18버전을 받자
Unity-Technologies/ml-agents
Unity Machine Learning Agents Toolkit. Contribute to Unity-Technologies/ml-agents development by creating an account on GitHub.
github.com

main은 불안정한 상태라고하니 안정적인 것을 다운받겠다.
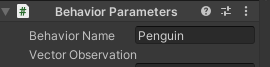
그리고 Penguin MLAgent를 할 계획이니 해당 튜토리얼을 켜보자.
Unity ML Agents | Penguins — Immersive Limit
In this Unity ML Agents tutorial you’ll learn how to use machine learning, specifically reinforcement learning in Unity to train penguins to find fish and feed their babies.
www.immersivelimit.com
해당 링크에 들어가면 Downloads에서 리소스를 받을 수 있는데, 다 받아주자. 가격을 0으로하고 이메일을 알려주면 리소스를 받을 수 있다.


이제 유니티에서 준비해보자. 펭귄리소스의 메쉬들을 import해준다.


그리고 해당 메쉬들을 모두 프리팹화 시킨다. (이름도 조금 바꿨다.)

그리고 PenguinArea만 빼고 모두 씬에서 없애준다.


이제 소스가 끝났으니 MLAgent버전을 업그레이드 해주자.
PackageManager => Add package from disk => ml-agents-release_18 => com.unity.ml-agents => package.json을 import해주자.
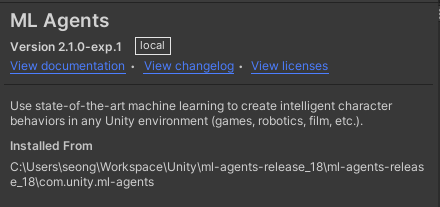
모두 했으면 위 사진과 같이 ML Agents의 버전이 업그레이드 된 것을 확인할 수 있다.
해당 버전은 Github의 MLAgent가 갱신될 때마다 올라가니 자신에게 맞는 버전을 받으면 된다. 파이썬과 파이토치도 마찬가지.

이제 스크립트를 작성해보자. 위 사진에 보이는 세가지 스크립트가 필요하다.
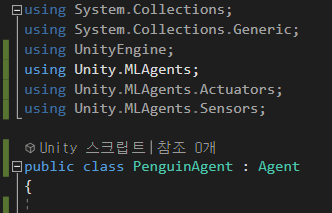
그리고 PenguinAgent가 Agent를 상속하도록 하고, Agent를 상속하기 위해서는 MLAgent들을 위쪽 필드에 선언해주어야한다.
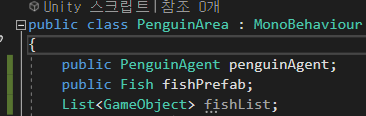
PenguinArea에서는 PenguinAgent와 BabyPenguin, Fish를 랜덤한 위치에 생성시키는 역할을 할 것이다.
using System.Collections.Generic;
using UnityEngine;

public class PenguinArea : MonoBehaviour
{
    public PenguinAgent penguinAgent;
    public Fish fishPrefab;
    private List<GameObject> fishList;

    // Start is called before the first frame update
    void Start()
    {
        ResetArea();
    }

    private void ResetArea()
    {
        //모든 물고기 제거 + 컬렉션 초기화
        RemoveAllFish();

        //물고기 생성
        SpawnFish(4, .5f);
    }

    //모든 물고기 제거
    private void RemoveAllFish()
    {
        if (this.fishList != null)
        {
            foreach (var go in this.fishList)
            {
                Destroy(go);
            }
        }
        //새로운 컬렉션을 만든다
        this.fishList = new List<GameObject>();
    }

    private void SpawnFish(int count, float fishSpeed)
    {

        for (int i = 0; i < count; i++)
        {
            //게임 오브젝트 생성
            var fishGo = Instantiate<GameObject>(this.fishPrefab.gameObject);

            //위치 설정
            fishGo.transform.position = ChooseRandomPosition(this.transform.position, 100, 260, 2f, 13f) + Vector3.up * 0.5f;

            //회전설정
            fishGo.transform.rotation = Quaternion.Euler(0, UnityEngine.Random.Range(0, 360f), 0);

            //부모설정
            fishGo.transform.SetParent(this.transform);

            //리스트에 넣기
            this.fishList.Add(fishGo);
        }
    }

    public static Vector3 ChooseRandomPosition(Vector3 center, float minAngle, float maxAngle, float minRadius, float maxRadius)
    {
        float radius = minRadius;
        float angle = minAngle;

        if (maxRadius > minRadius)
        {
            // Pick a random radius
            radius = UnityEngine.Random.Range(minRadius, maxRadius);
        }

        if (maxAngle > minAngle)
        {
            // Pick a random angle
            angle = UnityEngine.Random.Range(minAngle, maxAngle);
        }

        // Center position + forward vector rotated around the Y axis by "angle" degrees, multiplies by "radius"
        return center + Quaternion.Euler(0f, angle, 0f) * Vector3.forward * radius;
    }

}
그리고 Fish가 랜덤한 위치로 움직일 수 있도록 만드는 스크립트를 작성하자.
using System.Collections;
using System.Collections.Generic;
using UnityEngine;

public class Fish : MonoBehaviour
{
    [Tooltip("The swim speed")]
    public float fishSpeed;

    private float randomizedSpeed = 0f;
    private float nextActionTime = -1f;
    private Vector3 targetPosition;

    private void FixedUpdate()
    {
        if (fishSpeed > 0f)
        {
            Swim();
        }
    }

    private void Swim()
    {
        if (Time.fixedTime >= nextActionTime)
        {
            // 속도 설정
            randomizedSpeed = fishSpeed * UnityEngine.Random.Range(0.5f, 1.5f);

            // 펭귄 공간의 물고기가 갈 수 있는 위치중 랜덤으로 타겟 위치 설정
            targetPosition = PenguinArea.ChooseRandomPosition(transform.parent.position, 100f, 260f, 2f, 13f);

            // 회전 설정
            transform.rotation = Quaternion.LookRotation(targetPosition - transform.position, Vector3.up);

            // 타겟위치까지 가는 시간 계산
            float timeToGetThere = Vector3.Distance(transform.position, targetPosition) / randomizedSpeed;
            nextActionTime = Time.fixedTime + timeToGetThere;
        }
        else
        {
            // 이동벡터 구하기
            Vector3 moveVector = randomizedSpeed * transform.forward * Time.fixedDeltaTime;
            if (moveVector.magnitude <= Vector3.Distance(transform.position, targetPosition))
            {
                transform.position += moveVector;
            }
            else
            {
                transform.position = targetPosition;
                nextActionTime = Time.fixedTime;
            }
        }
    }
}
이제 객체들에게 Collider와 RigidBody를 추가해주자.

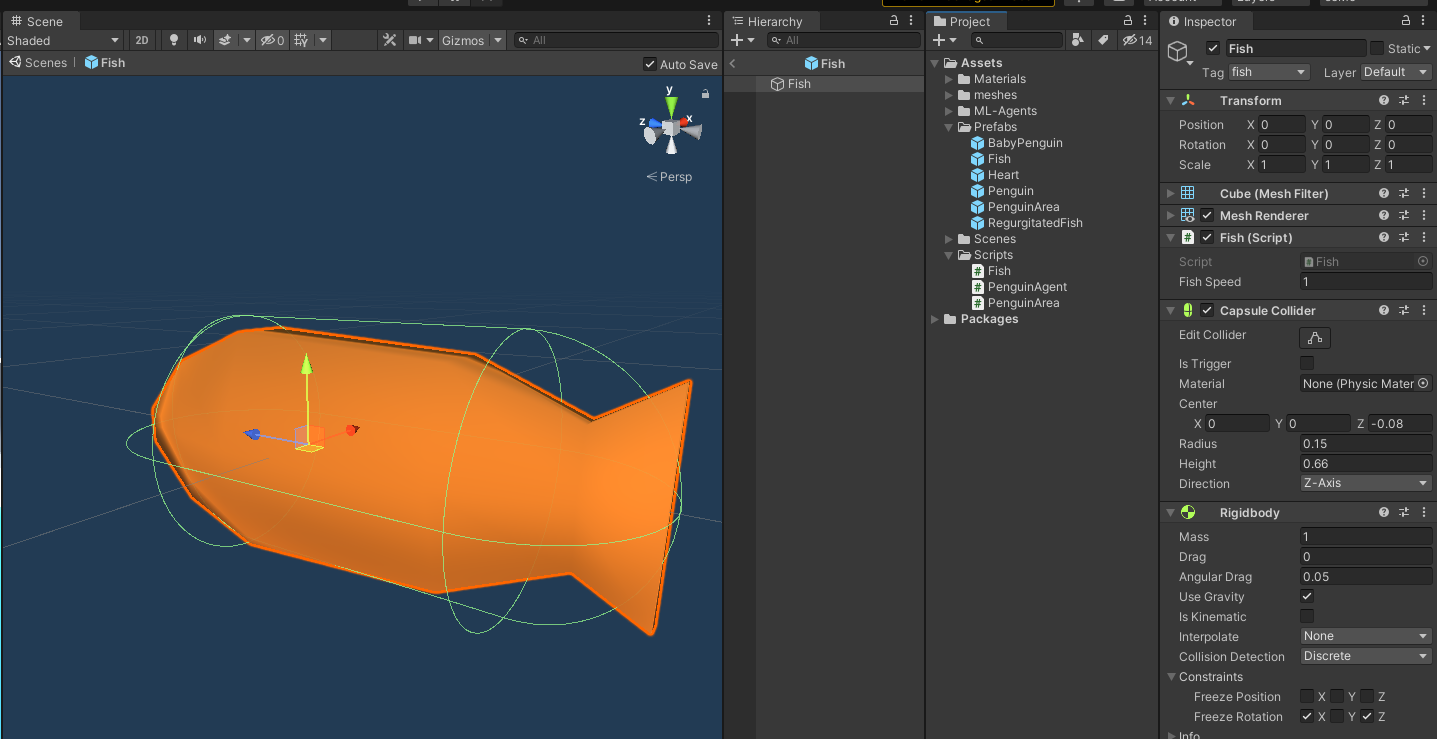


오른쪽의 값들을 눈여겨 보길 바란다. PenguinAgent의 경우엔 데이터수집을 하기때문에 Agent값까지 설정해주어야한다.
이어서 PenguinAgent에 Ray Perception Sensor 3D컴포넌트를 추가하자.
fish와 baby태그를 감지할 수 있도록 감지가능한 태그를 2가지로 지정하고 해당 태그를 입력한다(대소문자 구분한다.)

Rays Per Direction은 방향당 레이의 갯수, Degrees는 Ray를 발사하는 각도, Radius는 레이가 감지하는 범위를 말한다.
마지막으로 데이터수집을 위해 필수적이지만, 자동으로 추가되지않아 자주 실수하는 부분이 있다.
바로 Decision Requester를 추가하는 것이다. 해당 스크립트가 필수적으로 필요하다.

이제 핵심인 PenguinAgent의 스크립트를 작성해보자.
using Unity.MLAgents;
using Unity.MLAgents.Actuators;
using Unity.MLAgents.Sensors;
using UnityEngine;

public class PenguinAgent : Agent
{
    //이동 속도
    public float moveSpeed = 5f;
    //회전 속도
    public float turnSpeed = 180f;

    PenguinArea penguinArea;
    new private Rigidbody rigidbody;

    //시작하면서 Rigidbody와 PenguinArea를 사용할 수 있게 함
    public override void Initialize()
    {
        base.Initialize();

        this.rigidbody = this.GetComponent<Rigidbody>();
        this.penguinArea = this.GetComponent<PenguinArea>();
    }

    //에피소드 시작(새시작)
    public override void OnEpisodeBegin()
    {
        this.penguinArea.ResetArea();
    }

    //관측정보 수집
    public override void CollectObservations(VectorSensor sensor)
    {
        sensor.AddObservation(transform.forward);
    }

    //물고기랑 부딪히면 물고기를 먹은 처리를 하도록
    private void OnCollisionEnter(Collision collision)
    {
        if (collision.transform.CompareTag("fish"))
        {
            EatFish(collision.gameObject);
        }
    }

    //물고기를 먹으면 1점씩 추가하며 해당 물고기를 삭제
    //만약 PenguinArea에 남은 fish가 없다면 에피소드 종료
    void EatFish(GameObject fish)
    {
        penguinArea.RemoveSpecificFish(fish);
        AddReward(1f);

        var count = this.penguinArea.GetFishCount();
        if (count == 0)
        {
            EndEpisode();
        }
    }

    //손으로 조작하기위한 코드
    public override void Heuristic(in ActionBuffers actionsOut)
    {
        int forwardAction = 0;
        int turnAction = 0;
        if (Input.GetKey(KeyCode.W))
        {
            // move forward
            forwardAction = 1;
        }
        if (Input.GetKey(KeyCode.A))
        {
            // turn left
            turnAction = 1;
        }
        else if (Input.GetKey(KeyCode.D))
        {
            // turn right
            turnAction = 2;
        }

        // Put the actions into the array
        actionsOut.DiscreteActions.Array[0] = forwardAction;
        actionsOut.DiscreteActions.Array[1] = turnAction;
    }

    //행동정보 수집
    public override void OnActionReceived(ActionBuffers actionBuffers)
    {
        //이동 방향
        float forwardAmount = actionBuffers.DiscreteActions[0];
        //회전 방향
        float turnAmount = 0f;

        if (actionBuffers.DiscreteActions[1] == 1f)
        {
            turnAmount = -1f;
        }
        else if (actionBuffers.DiscreteActions[1] == 2f)
        {
            turnAmount = 1f;
        }

        //이동
        var movement = this.transform.forward + transform.forward * forwardAmount * moveSpeed * Time.fixedDeltaTime;
        this.rigidbody.MovePosition(this.transform.position + movement);

        //회전
        this.transform.Rotate(this.transform.up * turnAmount * this.turnSpeed * Time.fixedDeltaTime);

        //계속 물고기를 잡지 못한다면 지속적으로 약간의 패널티를 준다.
        if (MaxStep > 0) AddReward(-1f / MaxStep);
    }
}
Heuristic코드를 추가했으니 손조작이 가능하다. 이제 설정을 Heuristic으로 바꾸고 조작하면 잘 될것이다.
mlagents-learn config/ppo/Penguin.yaml --run-id Penguin_01해당 코드를 yaml파일이 있는 위치로 이동하여 cmd로 실행시키면 Unity가 실행될 것이다.

이렇게 출력됐다면 유니티에디터를 실행시켜보자. 그러면 MLAgent가 실행된다.
주의할 점은 그만두고 싶다면 유니티 에디터를 정지하지말고 cmd에서 Ctrl + C를 눌러 중지시키자.
또한 상단의 코드도 자신의 상황에 맞게 작성해야한다.
재생id는 Unity에서의 ID를 말하고 나머지는 해당경로의 어떠한 이름의 파일을 MLAgent로 실행할 것인지를 정하는 코드이다. 따라서 해당 코드의 가장 마지막부분은 우리가 입력한 이름과 같아야한다.
모델파일을 Assets로 가져와서 행동파라미터의 모델에 삽입하면 모델이학습한대로 행동하기 시작한다.
MLAgent실행 코드에 --resume을 더하여 작성한다면 이전에 하던 훈련 이어하기라고 할 수 있다.